
A website creation checklist for entrepreneurs is a structured, step-by-step framework that covers every task required to build a professional business website that works from day one. Most entrepreneurs underestimate how many moving parts a launch involves. Building a professional site typically takes 2–4 weeks, with infrastructure and planning in week one and design and content following. Skipping steps or doing them out of order creates problems that are expensive to fix later. This guide walks you through every phase, from goal setting to post-launch monitoring, so nothing falls through the cracks.
1. What does a website creation checklist for entrepreneurs include?
A website creation checklist is a categorized task list that covers planning, technical setup, design, content, testing, and post-launch monitoring. The industry term for this process is a "website launch checklist," and it functions as a project management tool for your entire site build. Without it, entrepreneurs routinely miss critical steps like SSL configuration, analytics verification, or mobile testing.
The checklist breaks into five core phases: goal setting, infrastructure, design and content, pre-launch testing, and post-launch maintenance. Each phase depends on the previous one. Skipping ahead creates cascade failures that are hard to diagnose once the site is live.

2. Planning and goal setting before you build
Clear goals drive every design and content decision you make. SMART goals tied to specific business outcomes, like generating 50 leads per month or booking 10 consultations per week, give your site a measurable purpose. Without them, you end up with a site that looks fine but converts no one.
Before touching a domain or a design tool, document the following:
- Your primary business goal: leads, sales, bookings, or brand awareness
- Your target audience: age, location, buying behavior, and key pain points
- Your conversion funnel: which pages carry CTAs, and what action you want visitors to take
- Required pages: Home, About, Services or Products, Contact, and any legal pages (Privacy Policy, Terms of Service)
- Competitor positioning: what your site must do better or differently
Pro Tip: Write a one-page goal document before you register a domain. Every design and content decision should trace back to a goal on that page. If it doesn't, cut it.
3. Technical and infrastructure setup
The technical foundation of your site determines whether everything else works. Get this phase wrong, and you block your own progress on SSL, email, and analytics.
Follow this sequence exactly:
- Register your domain. Own it yourself through a registrar like Google Domains or Namecheap. Never let an agency hold it on your behalf.
- Choose a hosting plan. Match the plan to your expected traffic and growth. Shared hosting works for early-stage sites; VPS or managed hosting suits higher-traffic businesses.
- Configure DNS records in the correct order. Incorrect DNS sequencing blocks SSL activation and email setup. Point your A record and CNAME before attempting anything else.
- Install and verify SSL. Your certificate must be active on both the root domain and the www variant. SSL must be verified before you share your URL publicly.
- Set up branded email. Create accounts like hello@yourbusiness.com and add MX and SPF records to prevent your emails from landing in spam.
- Install Google Analytics and Google Search Console. Verify both are firing correctly before launch, not after.
Pro Tip: DNS propagation takes up to 48 hours. Start your DNS configuration on day one of the project, not the day before launch. Waiting on propagation is the most common cause of delayed launches.
4. Design, content, and mobile optimization
Design and content are where most entrepreneurs spend the most time and make the most mistakes. The single most important design principle for a business website in 2026 is mobile-first. Mobile testing on real devices at multiple breakpoints catches layout shifts, broken navigation, and readability issues that desktop previews miss entirely.
Design priorities
- Use a consistent color palette and font system tied to your brand
- Apply a clear visual hierarchy: headline, subheadline, supporting copy, CTA
- Place your primary CTA above the fold on every key page
- Add trust signals: client logos, testimonials, review counts, and certifications
- Check outdated design patterns that reduce credibility and conversion rates
Content priorities
| Page | Recommended length | Key element |
|---|---|---|
| Home | 400–600 words | Clear value proposition and CTA |
| About | 300–500 words | Founder story and credibility signals |
| Services/Products | 300–500 words per item | Benefits, pricing, and CTA |
| Contact | Minimal copy | Form, phone, address, and map |
Every page needs a unique meta title, meta description, and at least one image with descriptive alt text. URL slugs should be short, lowercase, and keyword-relevant. These basics directly affect how Google indexes and ranks your site.
Site speed is a design and technical concern. 47% of visitors leave a page that takes more than 2 seconds to load. Compress images, minimize scripts, and test with Google PageSpeed Insights before launch.
5. Pre-launch testing checklist
Testing is the phase most entrepreneurs rush. A pass/fail checklist run through every critical function catches errors before real visitors do.
Run through these checks in order:
- Forms: Submit every form on the site and confirm you receive the notification email.
- CTAs: Click every button and confirm it leads to the correct destination.
- Navigation: Test every menu link on desktop and mobile.
- Internal links: Scan for broken links using a tool like Screaming Frog or Ahrefs.
- Redirects: Confirm old URLs redirect to the correct new pages if you are migrating a site.
- Sitemap: Verify your XML sitemap exists and is submitted to Google Search Console.
- Robots.txt: Confirm the file does not accidentally block search engine crawlers.
- Analytics events: Test every analytics event to confirm conversions are tracked correctly.
- Cross-browser compatibility: Test in Chrome, Safari, Firefox, and Edge.
- Page speed: Run Google PageSpeed Insights on your homepage and top landing pages.
Pro Tip: Print or copy this list into a spreadsheet. Mark each item pass or fail. Do not launch until every critical item is a pass. "Looks fine" is not a pass.
6. Post-launch activities and ongoing maintenance
Launching is not the finish line. The first two weeks after launch are the most important for catching issues and confirming your site performs as planned.
- Promote your launch to your email list, Google Business Profile, and social channels on day one
- Monitor analytics daily for the first two weeks. Daily analytics monitoring reveals traffic sources, bounce rates, and conversion gaps early enough to fix them
- Set up automated backups through your hosting provider or a plugin, scheduled at least weekly
- Run security scans monthly to check for malware or unauthorized changes
- Schedule a quarterly review covering technical performance, content freshness, and SEO rankings
- Update plugins, themes, and core software as soon as updates are available to close security vulnerabilities
A repeatable checklist used consistently after each update or content addition prevents the slow degradation that affects most small business websites within 12 months of launch.
Key takeaways
A website creation checklist for entrepreneurs works because it enforces task sequence, prevents cascade failures, and gives every launch decision a measurable goal to trace back to.
| Point | Details |
|---|---|
| Sequence matters | DNS must be configured before SSL, email, and analytics can function correctly. |
| Goals drive design | Define SMART business goals before choosing a domain, layout, or CTA. |
| Mobile testing is non-negotiable | Test on real devices at multiple breakpoints, not just desktop previews. |
| Pre-launch testing saves money | A pass/fail checklist catches broken forms, missing redirects, and analytics gaps before visitors do. |
| Post-launch monitoring is ongoing | Check analytics daily for the first two weeks and run security and content reviews quarterly. |
Why checklist sequence is the part most entrepreneurs get wrong
The conventional advice on building a business website focuses on design and content. That's understandable. Design is visible and exciting. But in my experience working with entrepreneurs across industries, the failures almost never happen in the design phase. They happen in the infrastructure phase, and they happen because of sequence errors.
DNS propagation is the most common culprit. Entrepreneurs register a domain, immediately try to install SSL, and then wonder why the certificate won't activate. The answer is always the same: DNS hasn't propagated yet. The fix is simple, but only if you know to wait. Most first-time site builders don't.
The second most common failure is skipping analytics verification before launch. You can't fix what you can't measure. I've seen entrepreneurs run paid ads to a site where Google Analytics wasn't firing, burning budget with no data to show for it. Verifying analytics before launch takes 10 minutes. Recovering from a week of untracked traffic takes much longer.
My honest recommendation: treat the checklist as a living document. As your business grows, your site's requirements change. Add new items when you add new features. Rerun the full checklist after every major update. The entrepreneurs who maintain their sites well are the ones who never stop treating the checklist as a tool, not a one-time formality.
AI tools like Talivo can handle much of the infrastructure and design work automatically. But human oversight on the checklist, especially the testing and verification phases, is what separates a site that works from one that almost works.
— jacopo
Talivo makes the checklist faster to complete
Building a professional website from scratch means managing domain setup, design decisions, content writing, and mobile optimization all at once. Talivo handles the heavy lifting by turning a business description, a Google Maps listing, or an existing URL into a complete, mobile-ready website in minutes.
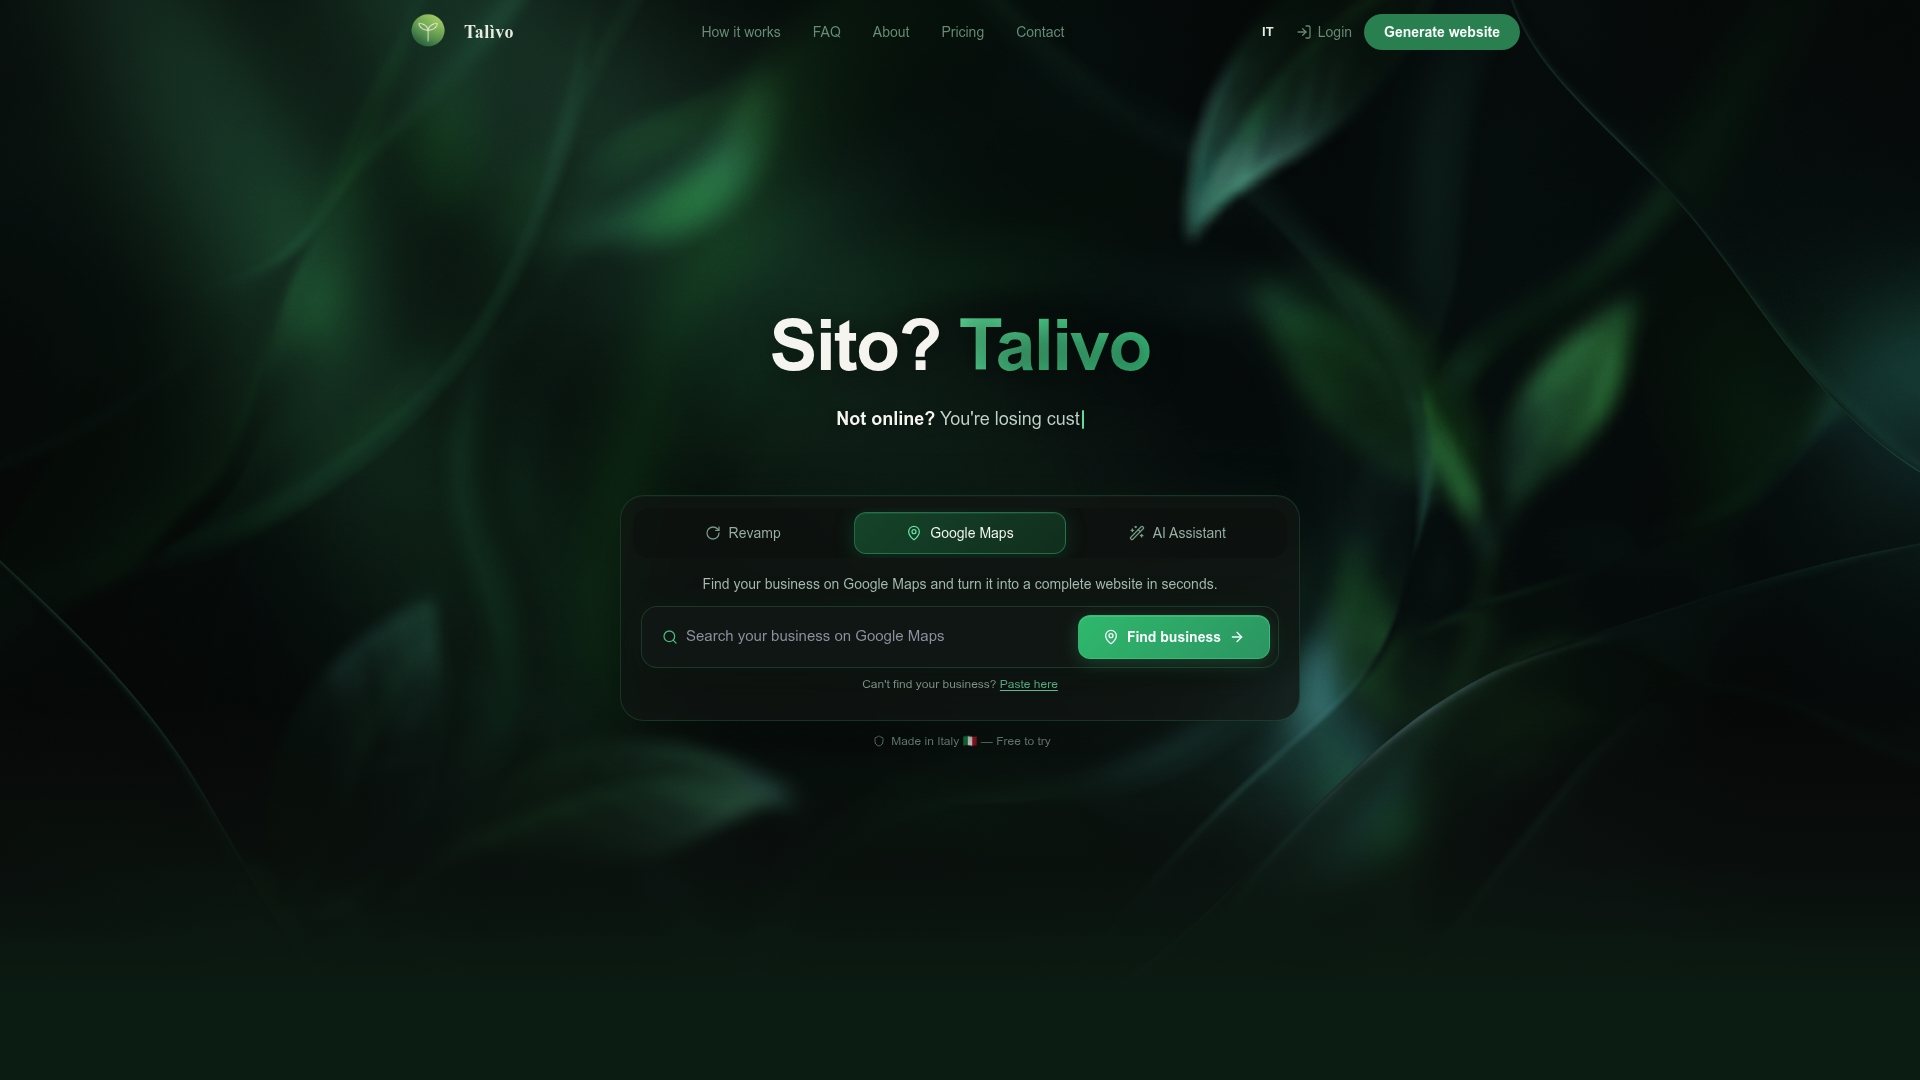
Entrepreneurs who use Talivo's AI platform skip the most time-consuming checklist steps without skipping the results. The platform generates copy, applies consistent branding, and produces a site structured for conversion from the start. For a closer look at how the process works, the step-by-step workflow shows exactly what happens from your first input to a live site. You still run the testing and post-launch phases yourself. But you start from a much stronger foundation.
FAQ
What is a website launch checklist for new businesses?
A website launch checklist for new businesses is a categorized task list covering planning, technical setup, design, content, testing, and post-launch monitoring. It ensures no critical step is missed before the site goes live.
How long does it take to build a business website?
Building a professional site typically takes 2–4 weeks. Planning and infrastructure occupy the first week, with design and content following in subsequent weeks.
Why does DNS configuration come before SSL setup?
Incorrect DNS sequencing blocks SSL activation and email setup. DNS records must propagate fully before an SSL certificate can be issued and verified on your domain.
What should I test before launching my website?
Test all forms, CTAs, navigation links, redirects, the XML sitemap, robots.txt, analytics event firing, and cross-browser compatibility. Use a pass/fail format and do not launch until every critical item passes.
How often should I review my business website after launch?
Monitor analytics daily for the first two weeks after launch. Run a full technical, content, and SEO review quarterly, and update software and plugins as soon as updates are available.